CX4712 NAS Build
Introduction
I will call this a midlife crisis because, even though it makes no sense, I transferred my server again into a new case... a rack case. But wait, didn't you just switch from a rack case to a tower case because it makes life so much easier? Yeah.
So, all I can say is, don't do this. It was way too expensive; I even had to buy another rack (my fault, because I only had a 2-post rack).
Hardware
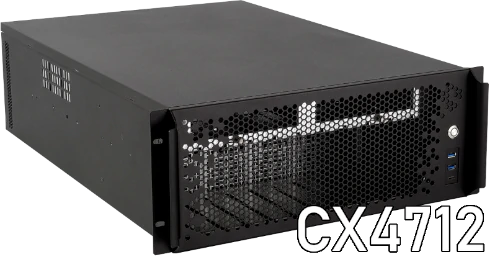
- Sliger CX4712 🆕
- Phanteks 3x PH-F120T30 🆕
- Supermicro X11SSM-F ♻️
- Intel Pentium CPU G4560 🡪 Intel Xeon Processor E3-1270 v6 🆕
- 8 GiB DDR4 ECC (KVR21E15D8K2/8) 🡪 2X 16GB DDR4 ECC (KVR24E17D8/16MA) 🆕
- Noctua NH-U9S ♻️
- LSI SAS 9217-4i4e ♻️
- SilverStone SST-CP06-E4 ♻️
- Seasonic Prime Ultra Gold 550W ♻️
- Noctua NF-A4x20 PWM ♻️
- 8x 8TB WD80EMZZ ♻️
- 2x 500GB SSD 850 EVO ♻️
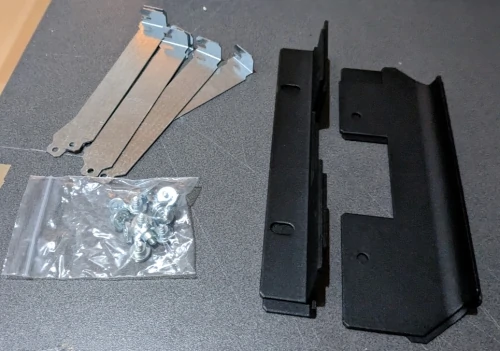
Scope of delivery
- 1x Sliger CX4712 Case
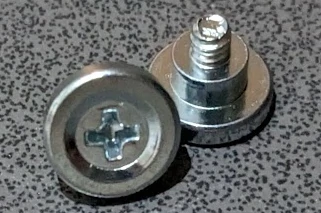
- 44x Shoulder screws for HDDs
- 2x Pairs of different Rackears
- 8x PCI Slot Covers with no holes
- 1x Bag with many different screws
Build
This time, we moved into a case that is way less mainstream and, in my opinion, way too expensive for an Unraid server whose sole purpose is to satisfy my data hoarder tendencies.
After unpacking came a disappointment: it got damaged during shipping. The top bar is bent, so the top cover will not align 100% and close flush. I contacted the seller, who was very helpful and offered me the option to ship it back or receive a discount. Because it otherwise worked and the HDDs could still slide in, I opted for the discount, as it's mostly a cosmetic problem and the 5 1/4 bay could still be inserted after some prying.
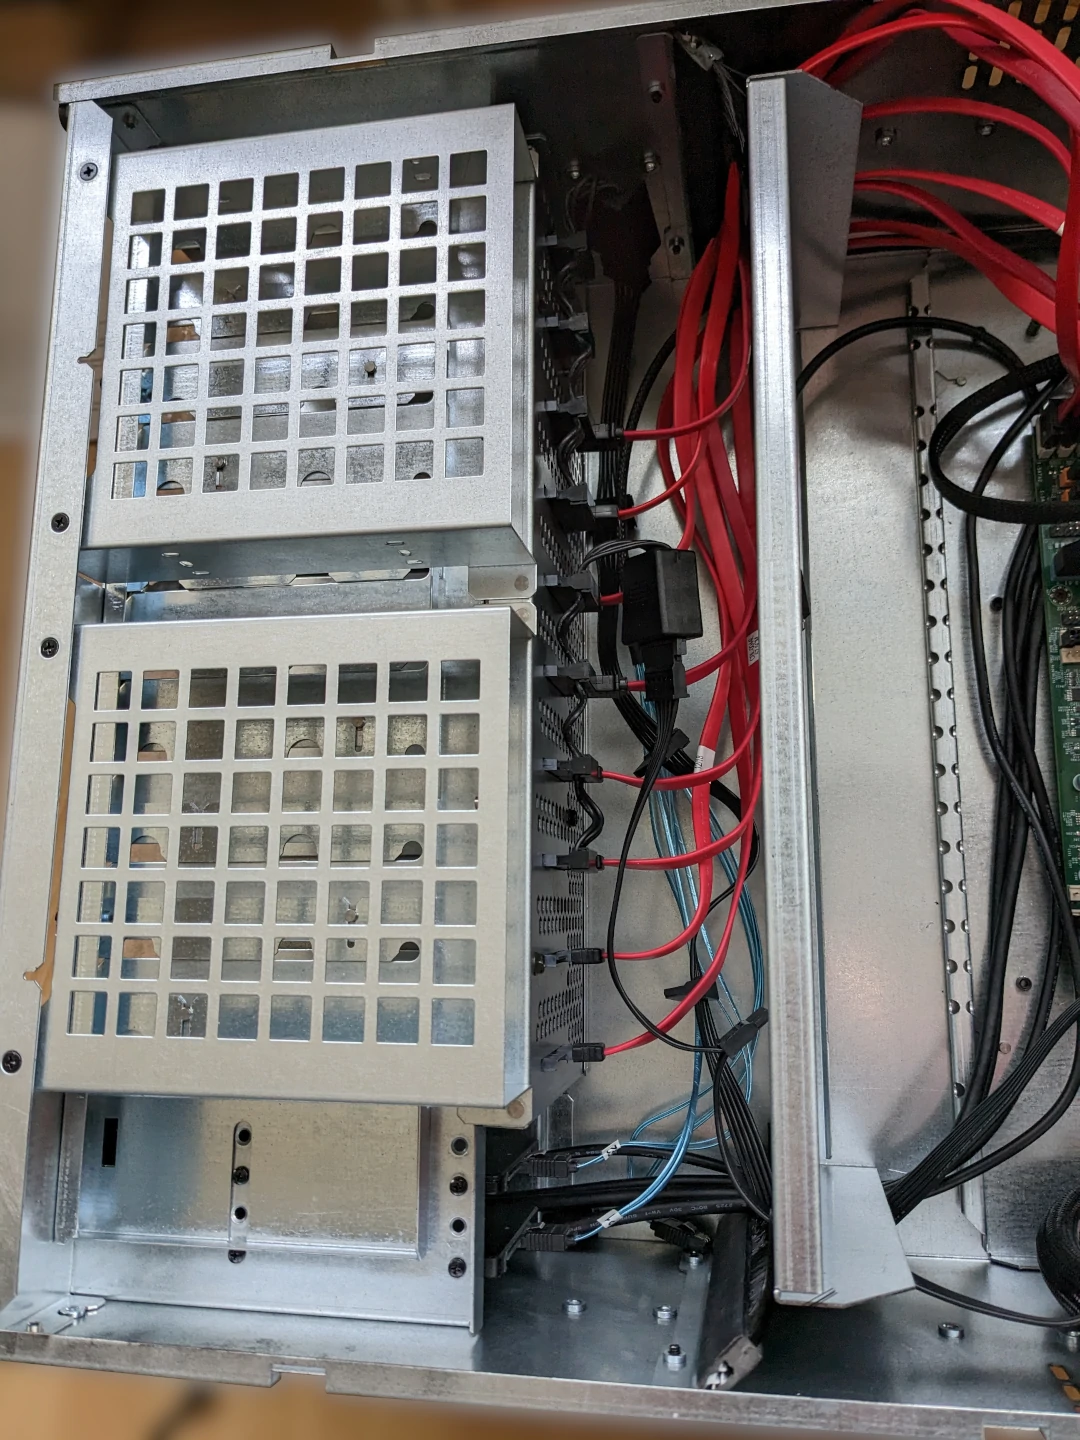
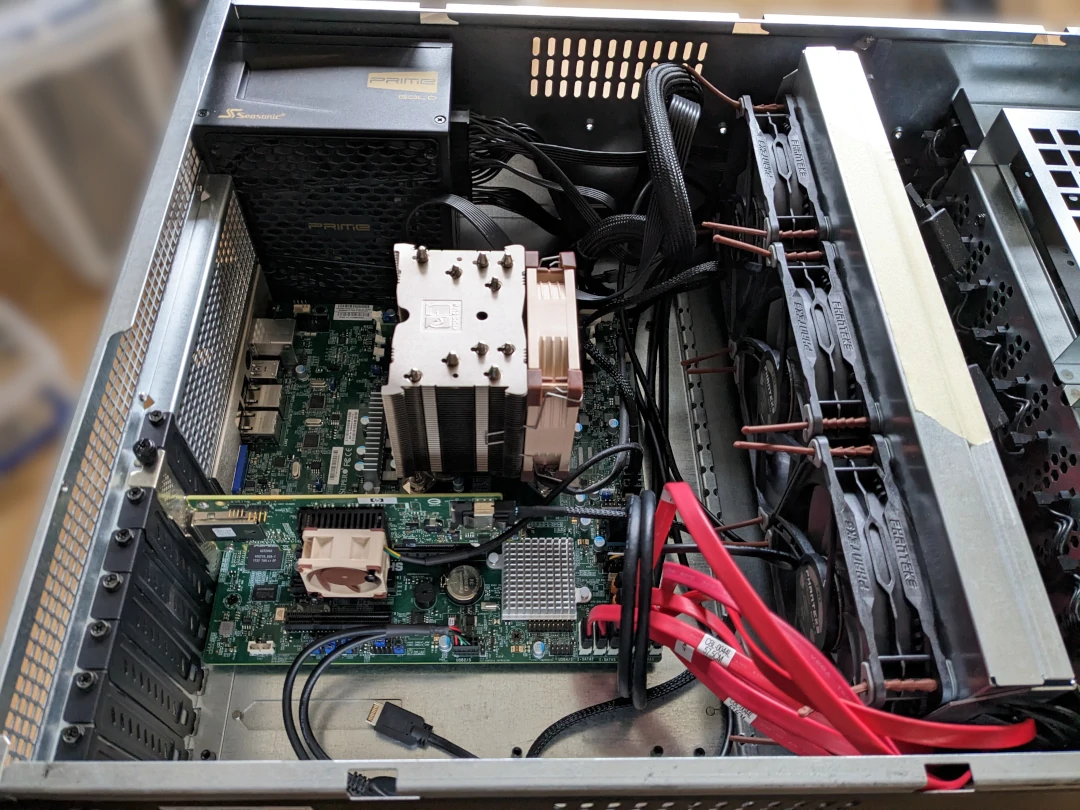
Here is a photo after transferring the setup into this case. Nothing really changed. If you are wondering where the

CableCreation SATA data connectors from the last build went, they went into the trash. I had disks dropping out of the array because of apparent CRC errors after using them, so I went back to more traditional SATA cables. Also, they changed the listing; they now show a different product.

This server case has no backplane, which comes with upsides and downsides. The upside is that, in this case, there is a simple gender changer installed where the HDDs slide in, so even if one of them breaks, I could either exchange it for a new one or rip it out and just hardwire the disk directly.
If you are wondering how the HDDs are mounted, it's done with these shoulder screws (pictured below); you just screw them into the normal HDD mounting holes and can then slide the HDDs into the rails.
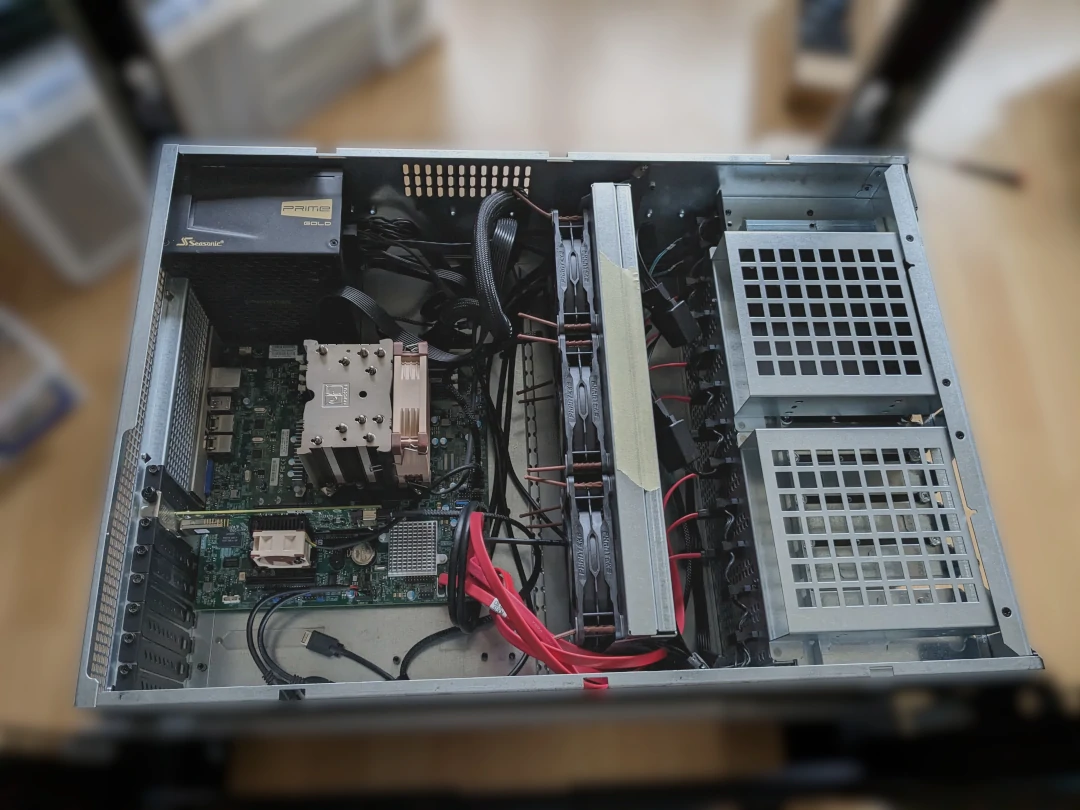
The downside is cable management. Thankfully, here again, these SilverStone SST-CP06-E4 Adapters helped out greatly on the power connector side. Because I am mainly using the motherboard's SATA ports, I had to wire them individually. This could look a lot cleaner if you only used SFF-8087 breakout cables.
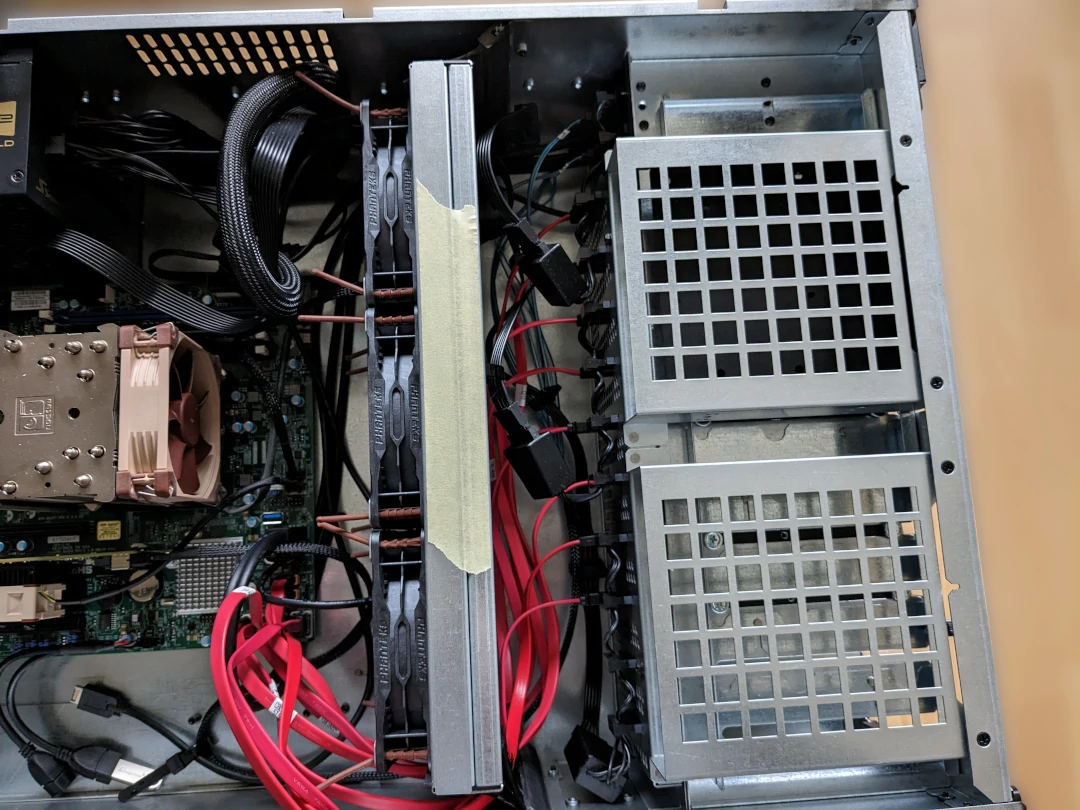
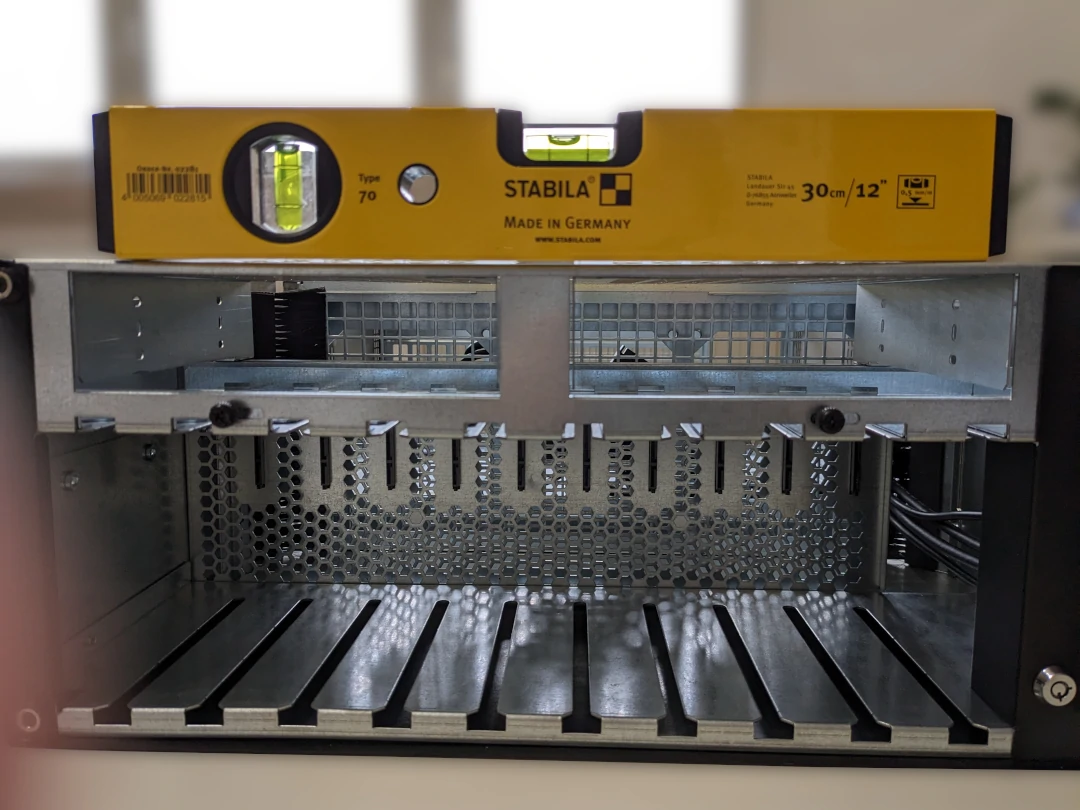
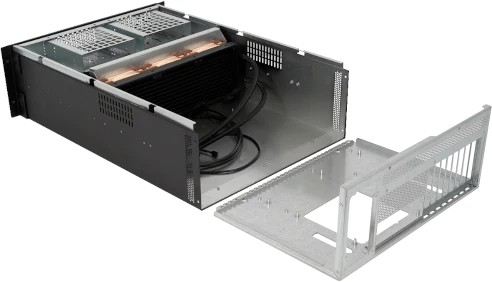
Here is how it looks with the installed fan divider. I switched here to Phanteks T30 fans, mostly because I was intrigued by fans not made by Noctua and also because of their dimensions of 120 x 120 x 30 mm, which is a bit bigger than normal. Additionally, they have a built-in daisy-chain option, and all in all, I wanted to test them out myself after seeing great reviews.
Something I should mention while I'm at it: in my last build, I used the included fan hub. Well, it's my own fault, but because I had the 40 mm Noctua fan on that hub, which had a completely different start and stop threshold, it was a bit of a fuckery to get it to play nicely with the rest. So now, it has its own fan header.
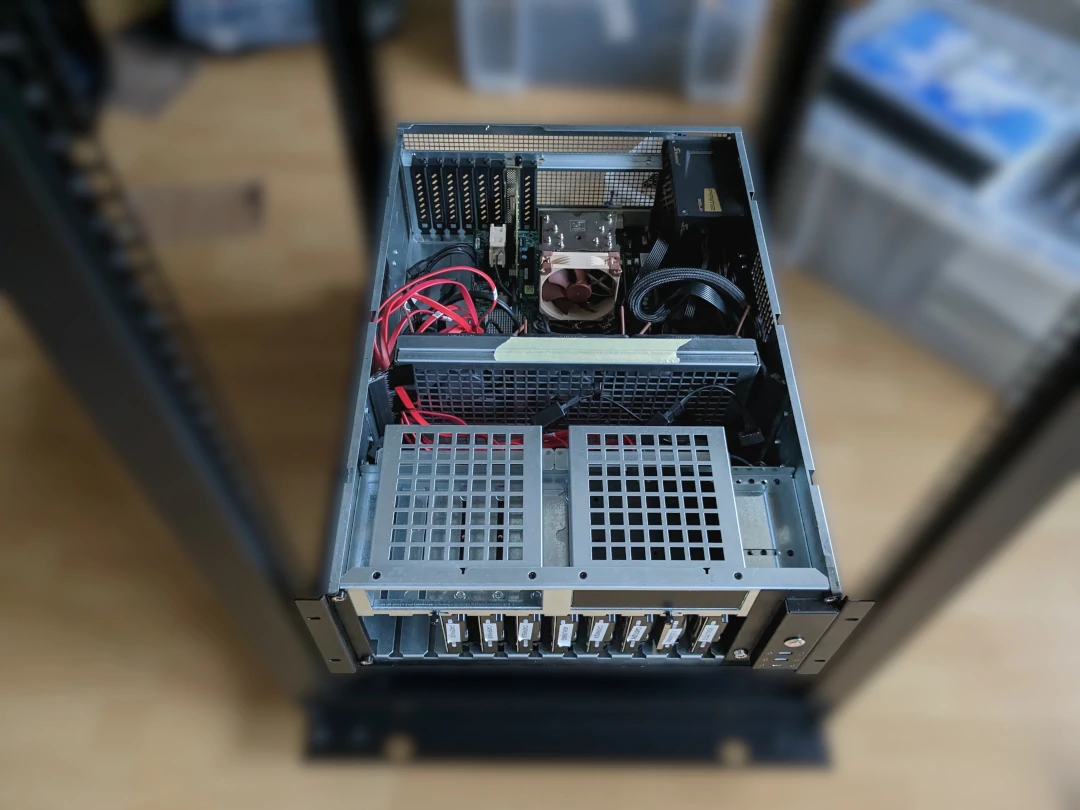
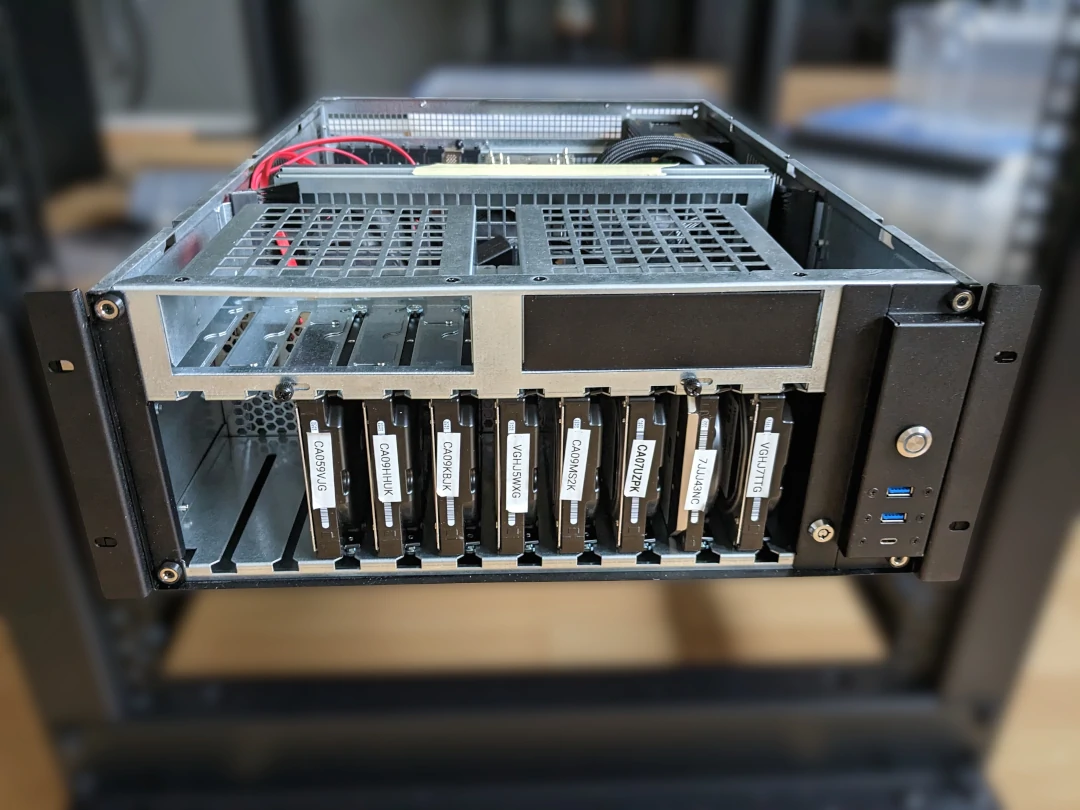
Here is the final state. Not much has changed, but in the front, you can see that now all 10 HDD gender changers are connected, or at least are now connected to one of the SilverStone SST-CP06-E4 Adapters.
Not only did I do this in case I ever need to add more storage (the cables would already be there), but I also noticed that one of my HDDs was not showing up. At first, I thought that maybe the connector was broken, but then I noticed that if I switched places with another disk, it would then be correctly recognized. It was the classic 3.3V pin problem. Thankfully, with the SATA power adapter, there is no need to modify the disk, and the setup also looks cleaner... well, it depends on how far you can call this rat's nest clean.
Maybe I should mention that the tape on top of the fan wall is only there to prevent it from falling out. You can take that part out for an easier time assembling it, and it really helps, but in my case, it would not stay in place with friction alone. Could it be that my fans are too heavy? No idea, but a quick fix was just taping it.
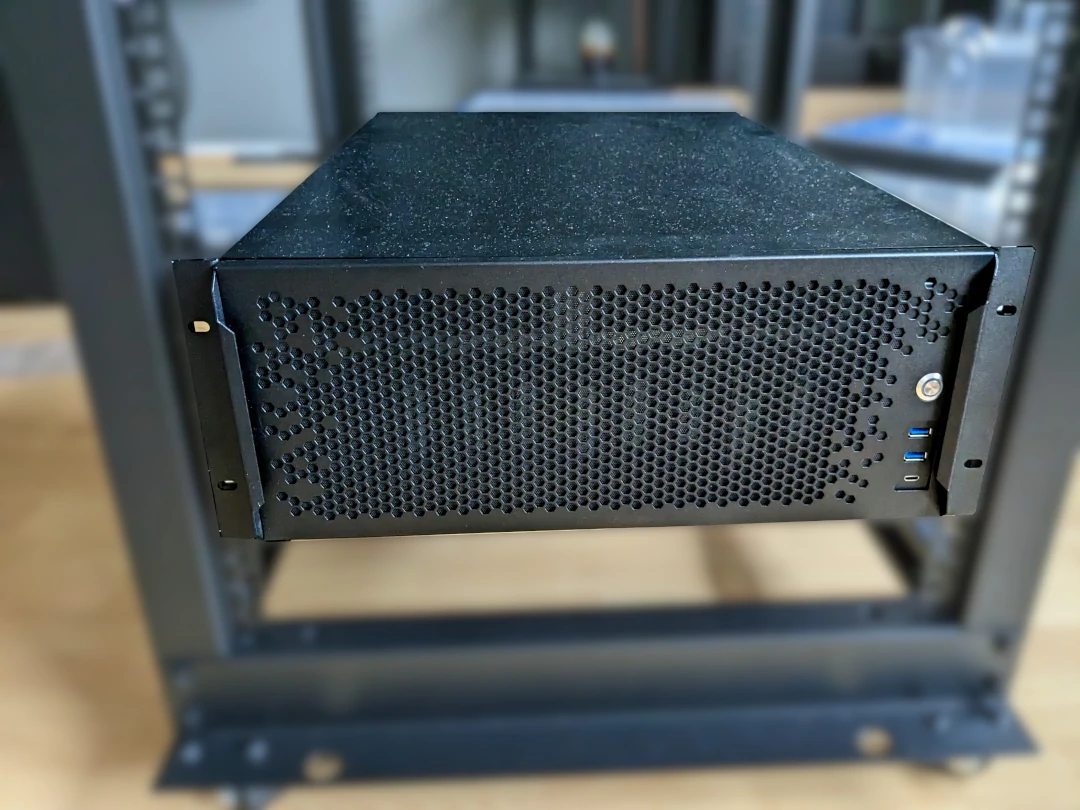
If you put everything together, it looks quite sleek. Ignore the dust; where I live, it gets way too dusty.
Afterthoughts
The bad
To be honest, I have some buyer's remorse, but maybe that's just me. This case cost me €480, which is in another realm for a case. This is the rack-mount problem: if you even try going this way, everything gets expensive as fuck, but nobody put a gun to my head, so it was my own decision.
The build quality is otherwise very nice but sharp as fuck; this has the same problem as cheap Inter-Tech cases—it feels like a can opener on the inside.
There are no instructions. Okay, if you are not retarded, you will manage it yourself, but some things, like determining which screw is for what, are literally trial and error.
One feature that I did not even show, but which you can see here on their website, is the removable motherboard tray. In theory, this could be great: remove it, put your components on it, and just slide it in. In practice, I found it really hard to slide in, even without a motherboard on it. It has some grooves that you need to line up, but mine required some pressure and force to finally slide in. With a motherboard on top, I would never have known 100% if I was correctly in the groove or slightly sliding over it.
I found it way easier to just install everything directly in the case itself.
No extras. By this, I mean, for example, no empty bay covers for the 5 1/4 slots, or the fact that the PCI slot covers are made of solid steel. I had to buy aftermarket parts (AKYGA AK-CA-22).
No intake filters. I had to cut my own (PVC-Staubnetzfilter für PC-Gehäuse). I would have loved it if they had come with an official, perhaps already perfectly fitting, version.
The good
The good things are: well, it's unique and fixes a lot of problems I had with my old server. The biggest improvement I can see is that this design is really nice; the layout allows you to fit 3x 120mm fans inside, and because of the missing backplane, the fans also have a chance to pull cool air from the front or, better said, pull heat from the HDDs.
For people like me who try to use this stuff at home, this is perfect. With this setup, you can live next to the server without needing really high-RPM fans.
So yeah, I will come back to the €480 price: is it worth it? No, probably not. Only if you are somewhat crazy and want to have this at home. I totally understand the price if you consider that Sliger is a small company doing custom cases, for which they need to introduce their own production lines. I have seen many rack cases in my research, but they are all quite alike. Well, it's a 19" box, so there's not much room for design, but Sliger is producing something here for a small market of homelab enthusiasts and data hoarders who are willing to pay for a solution that, right now, nobody else is producing.
All in all, if you are a data hoarder and have disposable income, maybe take a look. It's not perfect, but it's the best you can get right now without having your own machine shop.
Shoutout here to density.sk, where I bought it. They were really great and helpful when I confronted them about the shipping damage. If you are in the EU, they are currently your only option to get one of these cases, but based on my encounter with them, I would buy there again.
CPU and RAM Upgrade 06.10.2023
I finally made the move and upgraded from the G4560 to the E3-1270 v6. At the same time, I also upgraded the RAM, mainly because I am now running Home Assistant in a VM and I guessed that some more RAM could help.
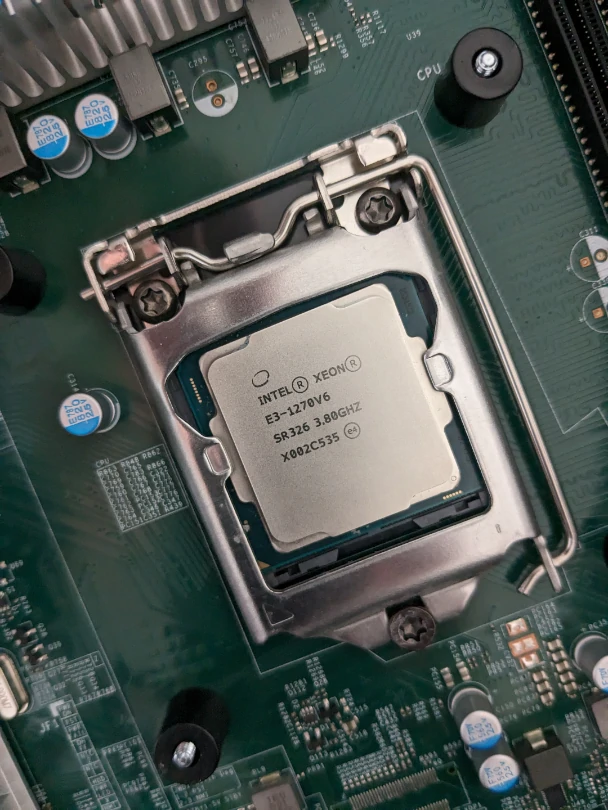
This also should make this the last and final upgrade for this Supermicro X11SSM-F. The CPU is pretty much maxed out like this, and if I were to ever want to upgrade, it would be time for a total rebuild on a newer socket than the LGA 1151.